


Choosing and installing the right flooring is one of the most important decisions in any renovation or construction project. Beyond its aesthetic role, the floor impacts comfort, functionality, durability, and even the temperature of a space. Whether you’re replacing old flooring or installing something new from scratch, understanding the process, materials, and necessary care is essential to achieving a professional, long-lasting result.
This article provides a complete overview of the floor installation process—from initial planning to final touches—with practical tips to avoid common mistakes and ensure a high-quality finish.
Why Proper Floor Installation Matters
Poorly installed flooring not only affects the appearance of a space, but it can also cause functional issues in the short or long term. Some of the most common problems include:
- Uneven or unstable surfaces
- Squeaky or noisy floors
- Moisture leaks
- Premature wear and tear
- Structural damage to the subfloor
That’s why a well-executed installation is not just about aesthetics—it’s an investment in durability, safety, and comfort.
Stages of Floor Installation
Although each type of flooring (wood, tile, vinyl, carpet, concrete, etc.) requires specific techniques, most flooring projects follow a general structure. Below are the main stages of the process:
1. Space Evaluation
Before choosing the type of floor, it’s important to evaluate the conditions of the space: how it will be used, the level of humidity, the foot traffic, the amount of natural light, among other factors. Installing flooring in a main living room is not the same as in a bathroom or kitchen.
You should also assess the current surface condition, making sure it is level, clean, dry, and free of cracks or imperfections.
2. Material Selection
Each flooring material has its pros and cons. Some of the most popular options include:
- Ceramic or porcelain tile: Very durable, ideal for kitchens, bathrooms, and high-moisture areas.
- Natural wood or laminate: Adds warmth and elegance. Requires more care and is not recommended for humid environments.
- Vinyl or SPC: Versatile, waterproof, easy to install and maintain.
- Cement tile: Extremely durable, with a rustic or industrial look.
- Carpet: Warm and cozy, ideal for bedrooms or offices, though harder to clean.
The choice depends on the style of the space, the available budget, and environmental conditions.
3. Surface Preparation
A properly prepared base is key to successful floor installation. This may involve:
- Removing the old floor, if needed
- Leveling the surface with mortar or other compounds
- Sanding rough areas
- Applying moisture barriers when necessary
- Marking guide lines to ensure proper alignment
In the case of floating or vinyl flooring, an underlayment may also be added to improve acoustics and comfort.
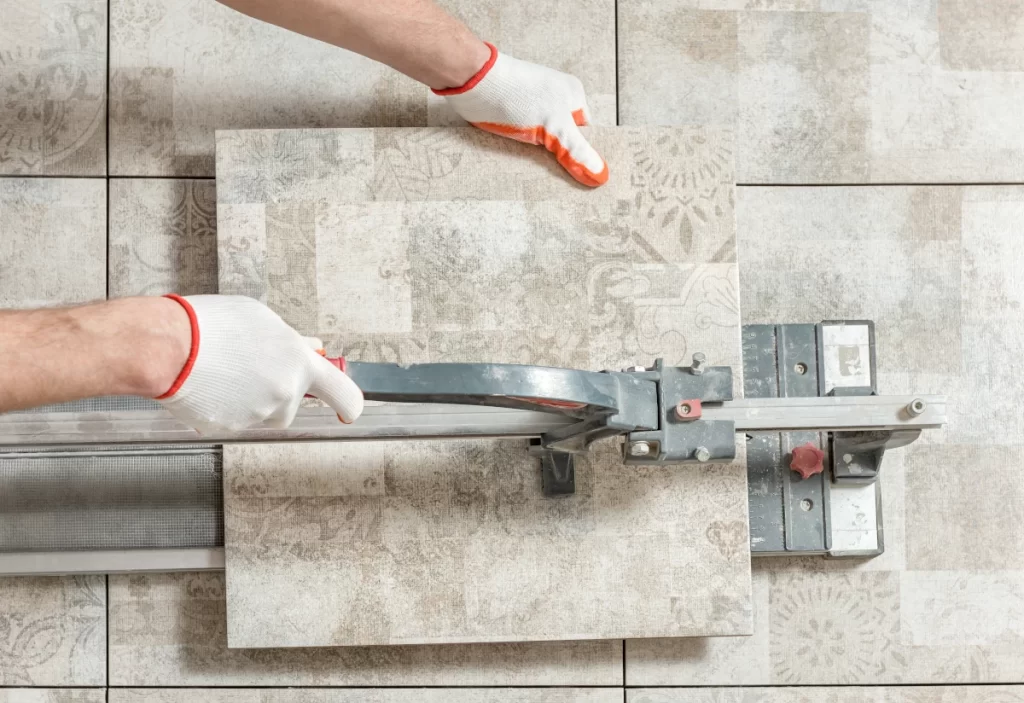
4. Floor Installation
The installation method depends on the flooring material:
- Tile flooring uses adhesive and spacers to ensure even placement.
- Click-lock laminate or vinyl is assembled without glue, using interlocking edges.
- Solid wood can be nailed or glued down, depending on the system and subfloor.
- Carpets are attached with staples, adhesives, or special stretchers.
During this phase, it’s important to maintain proper joint spacing, avoid misalignments, and follow manufacturer recommendations regarding expansion and finishing.
5. Finishing Touches
Once the flooring is installed, baseboards or moldings are added, joints are sealed if needed, and the area is thoroughly cleaned. For wood floors, it may also be necessary to apply varnish, wax, or protective oils.
You should also check for uneven spots or loose pieces, fix any flaws, and ensure the space is clean and ready for use.
Tips for a Successful Installation
- Plan ahead: Avoid improvising during the project. Know your materials, tools, and schedule in advance.
- Leave room for expansion: Materials like wood and vinyl expand with temperature changes. Leave small perimeter gaps.
- Protect the new floor: Once installed, avoid walking on it for a few hours, and cover it if other work is ongoing.
- Work with professionals: Experienced installers make a big difference in the quality and durability of the final result.
- Follow the manufacturer’s instructions: Each type of flooring has specific guidelines. Don’t assume they all install the same way.
How Long Does Installation Take?
The time required depends on the type of flooring, the size of the space, and how well the area was prepared. On average:
- Laminate or vinyl flooring can be installed in 1 to 2 days per room.
- Tile or porcelain flooring may take 2 to 5 days, depending on the design.
- Solid wood flooring may take up to a week, including finishing time.
It’s always wise to include extra time for adjustments or unexpected issues.
Installing a new floor doesn’t just change the look of a room—it also improves its functionality, cleanliness, and aesthetic value. Choosing the right material, properly preparing the surface, and executing a careful installation are key steps to ensure a lasting and harmonious result.
Whether you’re updating a single room or tackling a full home renovation, taking time to plan each flooring detail guarantees that the transformation will be meaningful and satisfying. After all, a good floor not only supports our steps—it reflects the energy and character of the home.